
XII. Custom Floor
- Aug 28, 2025
- 1 min read
Updated: Oct 16, 2025
Here’s a step by step procedure to construct removable flooring panels
1) fabricate and install framing “sisters” to both support the flooring & add structure to existing frames, AKA thwarts.
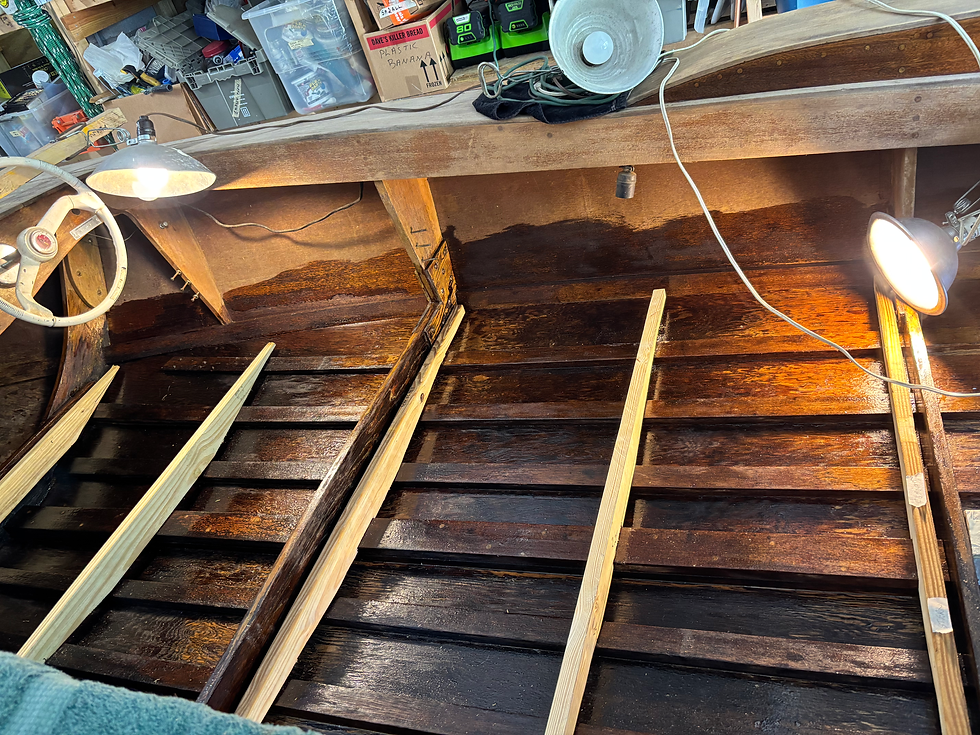
2) fabricate and install fixed centerline board, AKA stringer, painted trim blue (changed to varnished mahogany) flush with flooring.

3) for each panel. Prep flooring boards with denatured alcohol.
4) line panel edges in boat with parchment paper to maintain portability.
5) build panel from centerline out with. Use adhesive, 1/16 spacers & bar clamps to hold in position & seal cut ends.

6) when glue sets remove spacers then seal entire panel with penetrating epoxy.

7) after epoxy sets, if needed, brush second coat of epoxy.
8) test panel rigidity. If too flexible, remove & coat the flip side with epoxy. Not required.
9) using blue trim paint & masking tape, color the seams between floor boards.

10) spar varnish floor to protect from UV


Comments