VI. Transom Repair
- Jul 22, 2025
- 2 min read
Updated: Oct 16, 2025
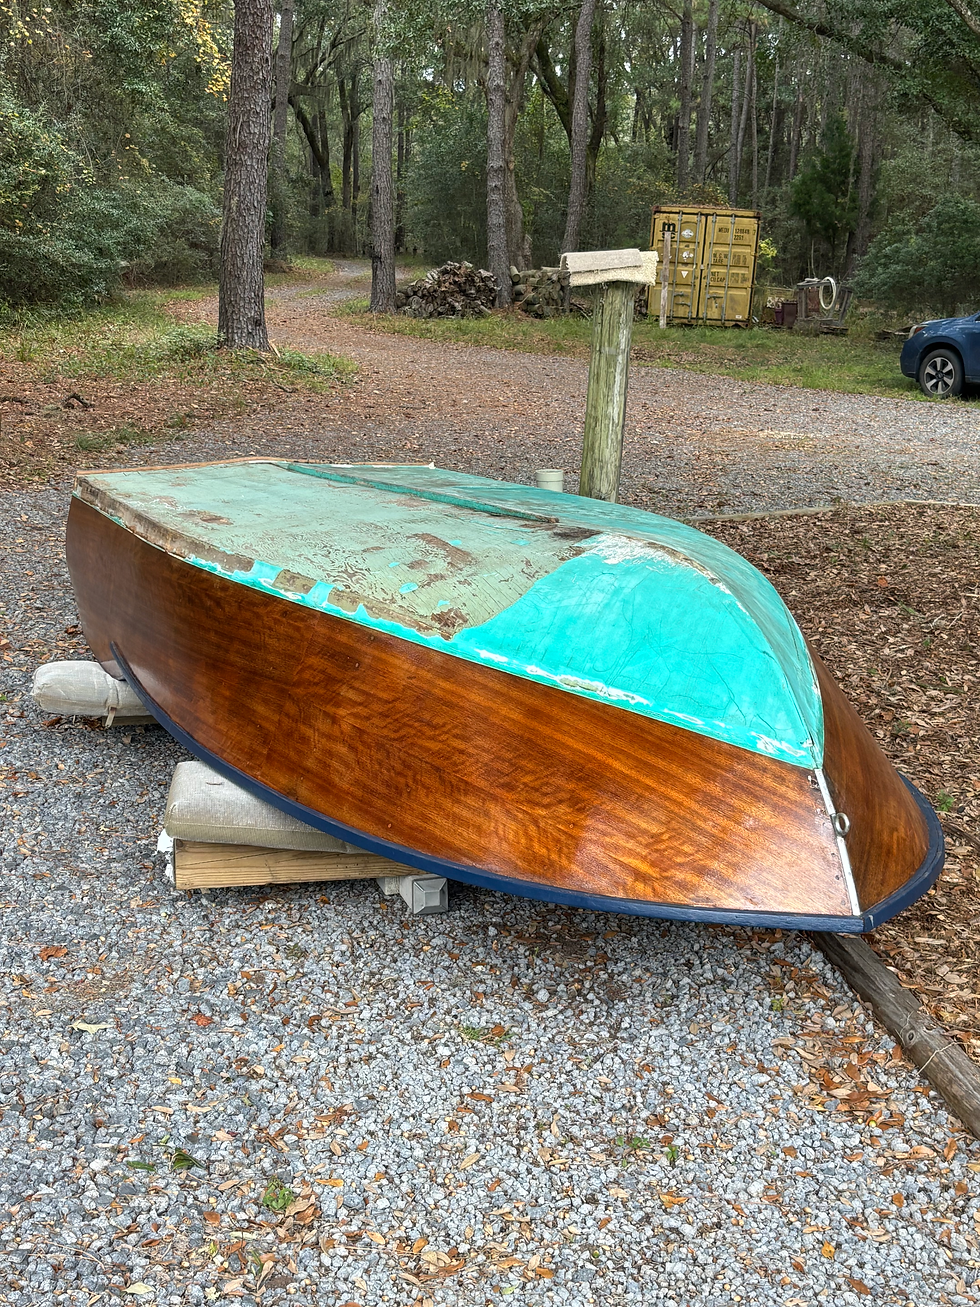
As noted is the previous post, there is substantial rot in the bilge adjacent to the transom.

There are at least three options:
1) Stabilize existing material using penetrating epoxy. Unfortunately, the wood is too far gone for this.
2) Replace the entire transom. Apparently this approach is popular with wood boat restorers. They cut around with a sawzall. But I was advised by people envious owner that due to plywood construction the hull would spring out and would be very difficult to get back to shape.
3) So we opt for removing rotted section of transom & surrounding area only that is only loosely attached to the to rest of boat.
DEMOLITION
1) first we make a horizontal cut across the entire transom avoiding any sound structural members

2) The next step is to plunge cut all bottom hull battens.

3) The final demo step is to use a sawzall to cut through any screws / nails coming from bottom hull planking to remove transom assembly.

RECONSTRUCTION - Exterior
1) Fabricate & install transom section replacement. This will be a Bit wider to accommodate attachment to the cutoff hull battens.

Unfortunately , the aft 2-3 inches of bottom hull plywood are in tough shape. The fiberglass overlay is holding it together. Going to need waterproof, flexible bedding between hull and new transom sections (probably 3M 4200) as well as screws.

2) Use epoxy & caulk to secure transom sections together
3) Fabricate, install & varnish a marine plywood “skin” for the entire transom

4) install bilge drain, grab handles & outboard custom mounting plate

5) mount outboard
RECONSTRUCTION - Interior
1) Fabricate & install replacement “nailers”. These are attached to the transom as well as the battens.

Comments